Show the base product clearly
Tell the customer what they receive before personalisation: material, size, included items and finish, using only facts you can support. Include preparation time so a gift buyer can plan realistically.

Made around your kind of business
You should not have to guess which spelling was the final one. Collect the name beside the product and preserve it with the order. Let the customer check the exact spelling before you confirm the final design.
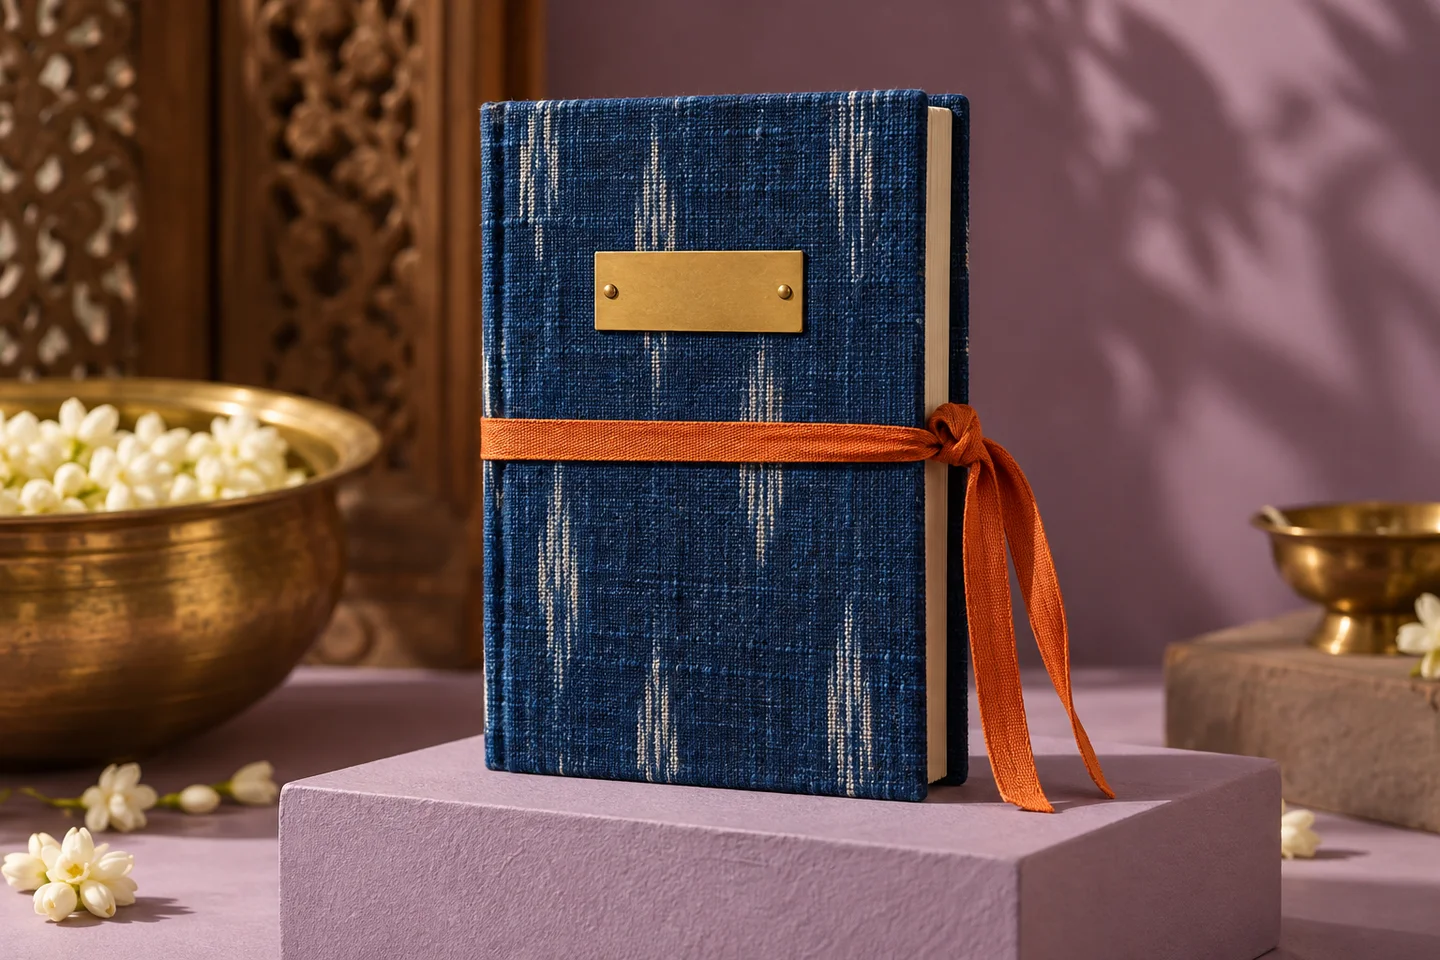
Choose your shop style, add a product and try it from the customer’s side. Keep quantities and product choices together. Affiliate recommendations use the retailer’s own checkout.
Use the example to see how clear product details and relevant choices make the buying journey easier.
A practical way to begin
A personalised gift can carry a lot of meaning in a few letters. The process should make it easy for a customer to give you the correct detail, and easy for you to find the final instruction when it is time to make the item.
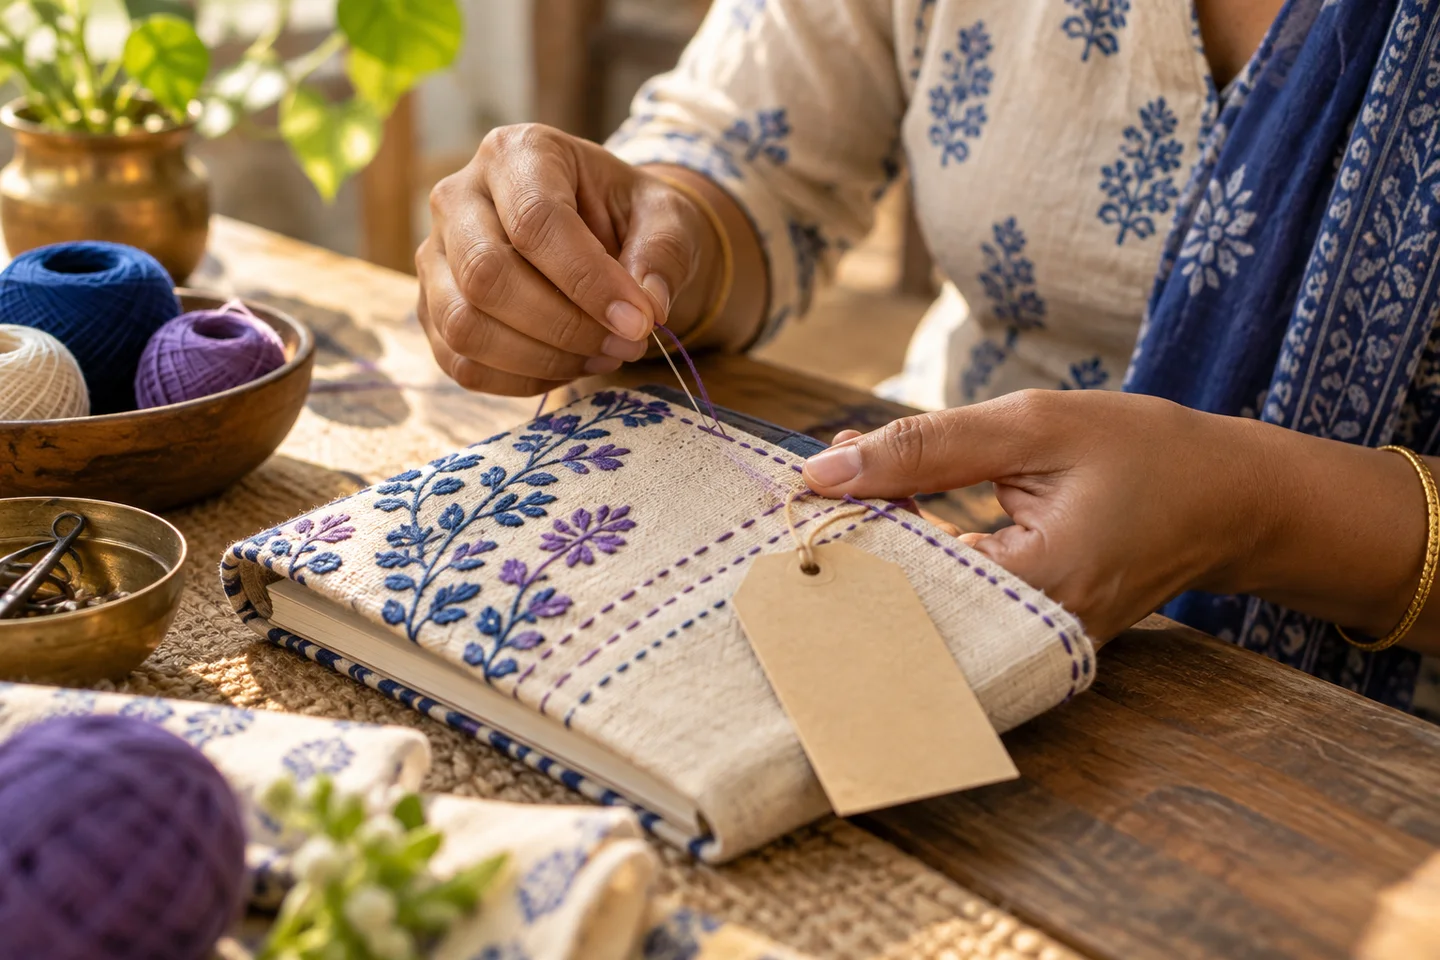
Tell the customer what they receive before personalisation: material, size, included items and finish, using only facts you can support. Include preparation time so a gift buyer can plan realistically.
Ask one clear question, such as “Name on cover”. Customers can type up to 40 characters and see a sample name placement. Confirm the final design with them before making the item.
The order saves the exact text, quantity and price agreed at checkout. A later listing edit cannot quietly change what the customer agreed to in that order.
Start with a product that needs one short name or message. Ask for the exact wording and explain how you confirm the design before making. Explain any further design confirmation directly to your customer.
Try the customer journey yourself. If a fact is uncertain, clarify it before publishing. Check the choices from the customer’s side before sharing the product.
Start with one productA good next step
Create your store. Add a product. Share a link.