Name your shop
Create your account. Choose a shop name, a link and a starting style. You can add your logo later.
Start with my shop →
Name it. Add it. Share it.
Keep storefront creation separate from payments and courier activation.
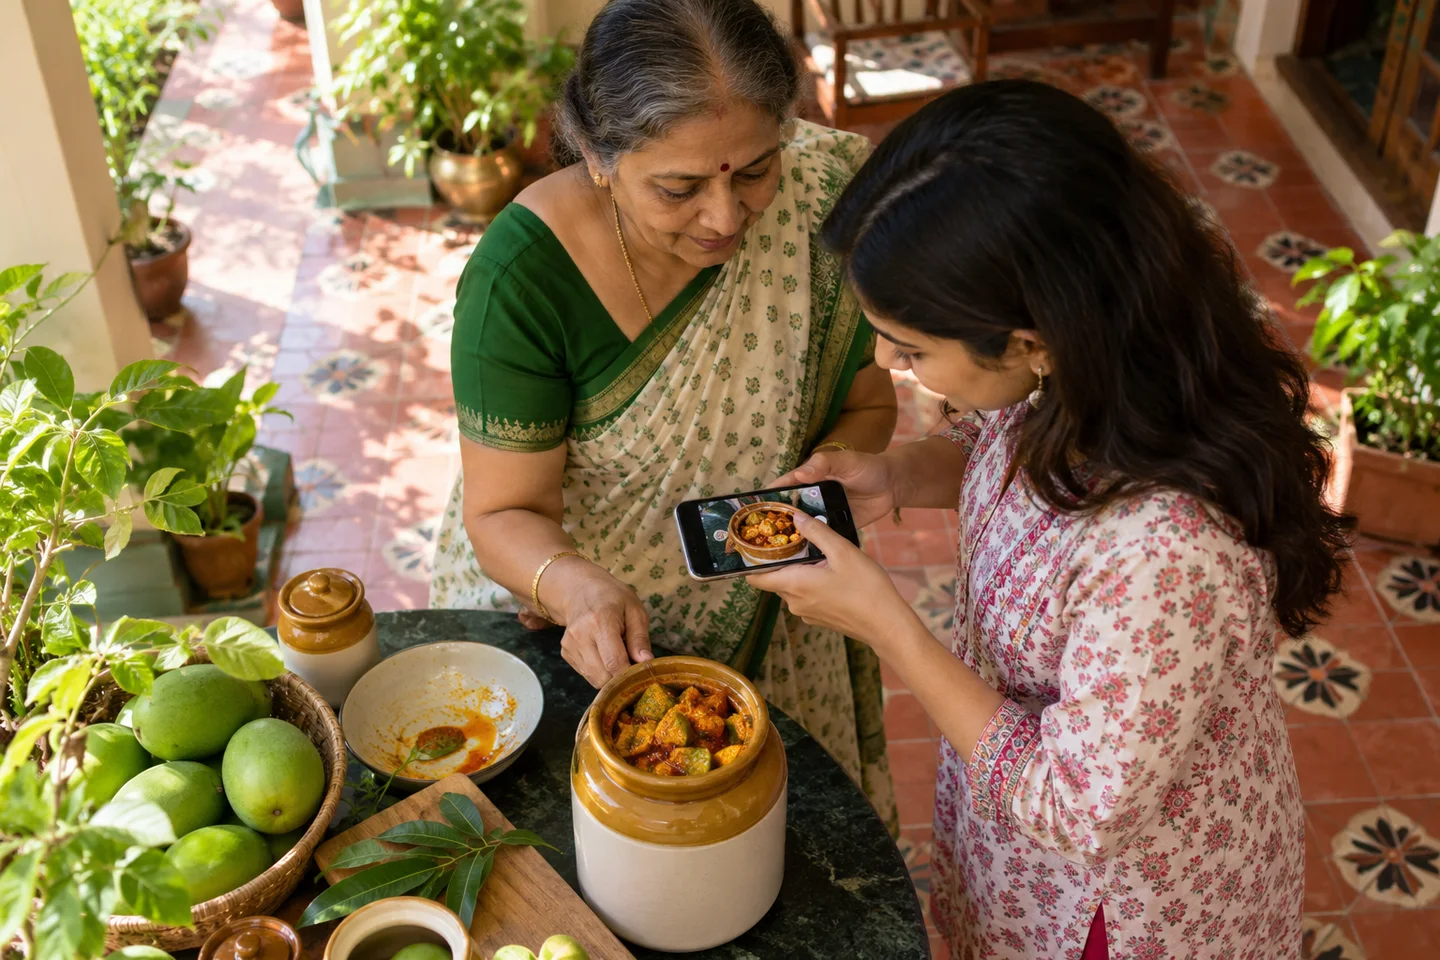
Create your account. Choose a shop name, a link and a starting style. You can add your logo later.
Start with my shop →Use your own photo or an explicitly labelled sample product photo. Add a price, capacity and the questions your customer needs.
See a product guide →Open your shop, try the customer choices and see an order in your shop dashboard. Check the storefront on your phone and make sure the details are easy to read.
Try an example →Before accepting real orders, your seller details, required verification, payment account and delivery options must be ready. Keep your seller information and collection or delivery instructions clear.
Understand payment and delivery setup →For your working day
You can try the shop journey with information you already have. Add complexity only when your product or business actually needs it.

Take the product in daylight against a simple background. Show what is included in the price, and use a second detail shot later if size, texture or finish needs explanation. Only upload images you have the right to use.
Enter your price in rupees. If you are not sure, use the calculator with materials, labour and packaging. You can choose a price independently of the estimate; you can change the assumptions until the estimate reflects your work.
A personalised diary needs a name. A food batch needs ingredients and preparation time. An affiliate product needs the approved link. The form reveals relevant questions when you choose the product type.
Open your storefront, read the product details and place a pickup order. Check the name, quantity and expected preparation in the saved order. Read the saved choices as you would when preparing an order.
Try a little of the first step
Type a name you already use with customers. We suggest a shop link automatically. You can edit that link if you prefer another one, and your edit stays yours when you change the shop name.
You do not need to buy a website address or have a final logo to practise this first choice. A clear name is enough to begin.
This previews a name and link only. Create your account to save your shop. Your chosen link must be available when you save.
Create my shopA good next step
Create your store. Add a product. Share a link.